Monday, September 30, 2013

Classic Beef Stew


Oh, the temperatures are starting to drop, the sun is rising later and going down a little earlier, the season is definitely changing.  It's time to prepare for the winter evenings ahead, and comfort food is a big part of that.


I have been looking for a good beef stew recipe. One that's not hard to make, but still has good beef flavor.  I was also looking for a recipe in which the vegetables still tasted like vegetables when I served it. This recipe totally hits the mark.  Full of flavor, meat so soft your fork melts into it, and vegetables so succulent and moist. This meal has become top of the list in our house. And it's pretty easy to prepare. It's the kind of meal you can make when the weather outside in less-inviting.  You can stay inside and enjoy all of the aroma that comes from cooking this wonderful beef stew.


Classic Beef Stew

1lb roast (tip, chuck, round, etc) cut into 1in pieces
2 c water
1 c (1 can) beef broth
1/2 tsp salt
1/8 tsp pepper
1 1/2 c baby carrots or 2 med carrots, chopped
2 celery stalks, chopped
2 med potatoes, peeled & chopped
1 dried bay leaf
1/2 c cold water
2 Tbs flour
salt and pepper to taste
3c cooked noodles (egg noodles, bowtie, campanelle, etc)


In a 4-qt dutch oven, brown the meat in some heated oil. Once the meat is completely browned, about 15 minutes, add the water, beef broth, salt, and pepper. Bring to a boil and then turn it down to a simmer and let the meat cook for about 2 - 2 1/2 hours.

Add the vegetables and the bay leaf. Cover and allow the broth to simmer with the vegetables for another 20 - 30 minutes, depending on how soft you like your vegetables. Meanwhile, heat the water for your noodles and cook them according to the package instructions.

Mix the cold water with the flour until it's well blended. Add it to the stew and allow it to boil for a few minutes to thicken the sauce. Serve with the stew poured over the noodles. Makes about 4 servings. Enjoy!

Friday, September 27, 2013

Finished the Little Ditties

So, I hit up the local sewing supply store and bought a couple of zippers, some velcro, and of course, more thread (always running out of that stuff).  I wanted to try a couple of different closure techniques to see which I like the best. First, I made a couple more bags. I made the width of the bottom a little smaller than the first 2 (again, experimenting).


Then, I attached the different closure systems...


For the Velcro, it was pretty straight-forward stitching it inside the bag. It works well, but I'm worried it will get dirty after lot of use or loose it's grippy-ness.

The addition of the zipper before completion was quite a challenge.  I had a really hard time working with the small size that was not the exact size as the zipper. I also really wanted to hidden seams for the lining inside the bag, so I couldn't attache the zipper before attaching the two sides together. So, I was not so impressed with that one.

When I added the zipper after I completed the bag, things went much smoother.  I also think it gave a nicer finished look. If I continue making more with zippers, I think this is the way I want to do it. I will need to perfect my skill at zipper attachment in general, though.


Overall, I'm really happy with them.  They are ready for snack storage on our next outing.  I want to try one more thing with the velcro; more of a flap that comes up and over the top.  It would be a very versatile pattern that I could use in various sizes, if it works.  We'll see.  Maybe something I can try this weekend, or maybe not until next week. 

Until then, I am hoping to finish Seuss today.  It's such a nice day, it's perfect for a little quilting. I'm linking up with Crazy Mom Quilts for Finish Friday. And now, it's back to work.

Wednesday, September 25, 2013

Little Ditties

I'm into the whole homemade, natural approach to raising my kids.  Is everything free of preservatives? No.  I try to do what I can, but realize there's a point.  I also try to recycle and be aware of my consumption, but again, there's limits.  A friend started using cloth food baggies several months ago and told me about them.  I was intrigued, which brings me to my other weakness.  I am guilty of seeing something and thinking; I could make that!
Fast forward a year and you will finally arrive to the place where I actually try making these little baggies.  I decided to use laminate cotton (really cool stuff that's recently become popular for lunch bags and the like) and line the baggies with PUL fabric. Both are leak resistant and safe for foods to be in contact. 
Here's my first attempt, which was too thick and too stiff...


So, I moved on to a new technique and it went much better...


I still need to add fasteners. I think I am going to try velcro for these first 2, but I might try zippers on some of them as well.  We'll see how well they work in action.  It would be kind of cute to make a lunch bag that matches all of these little ditties; I could have a whole set. :)

I'm linking up with Freshly Pieced today.  Looking forward to seeing what everyone is working on. 

Tuesday, September 24, 2013

Fall is in the Air

Oh, it's finally feeling like there's relief coming! We are cooling off to the 60's at night, and it's so dry that our 90's in the day aren't so bad. This kind of weather is really getting me in the mood to go along my crafty-merry way. I bought some more peaches to can so I could try using fruit juice instead of sugar water.  They turned out great; it was so exciting! I can't wait to do more.
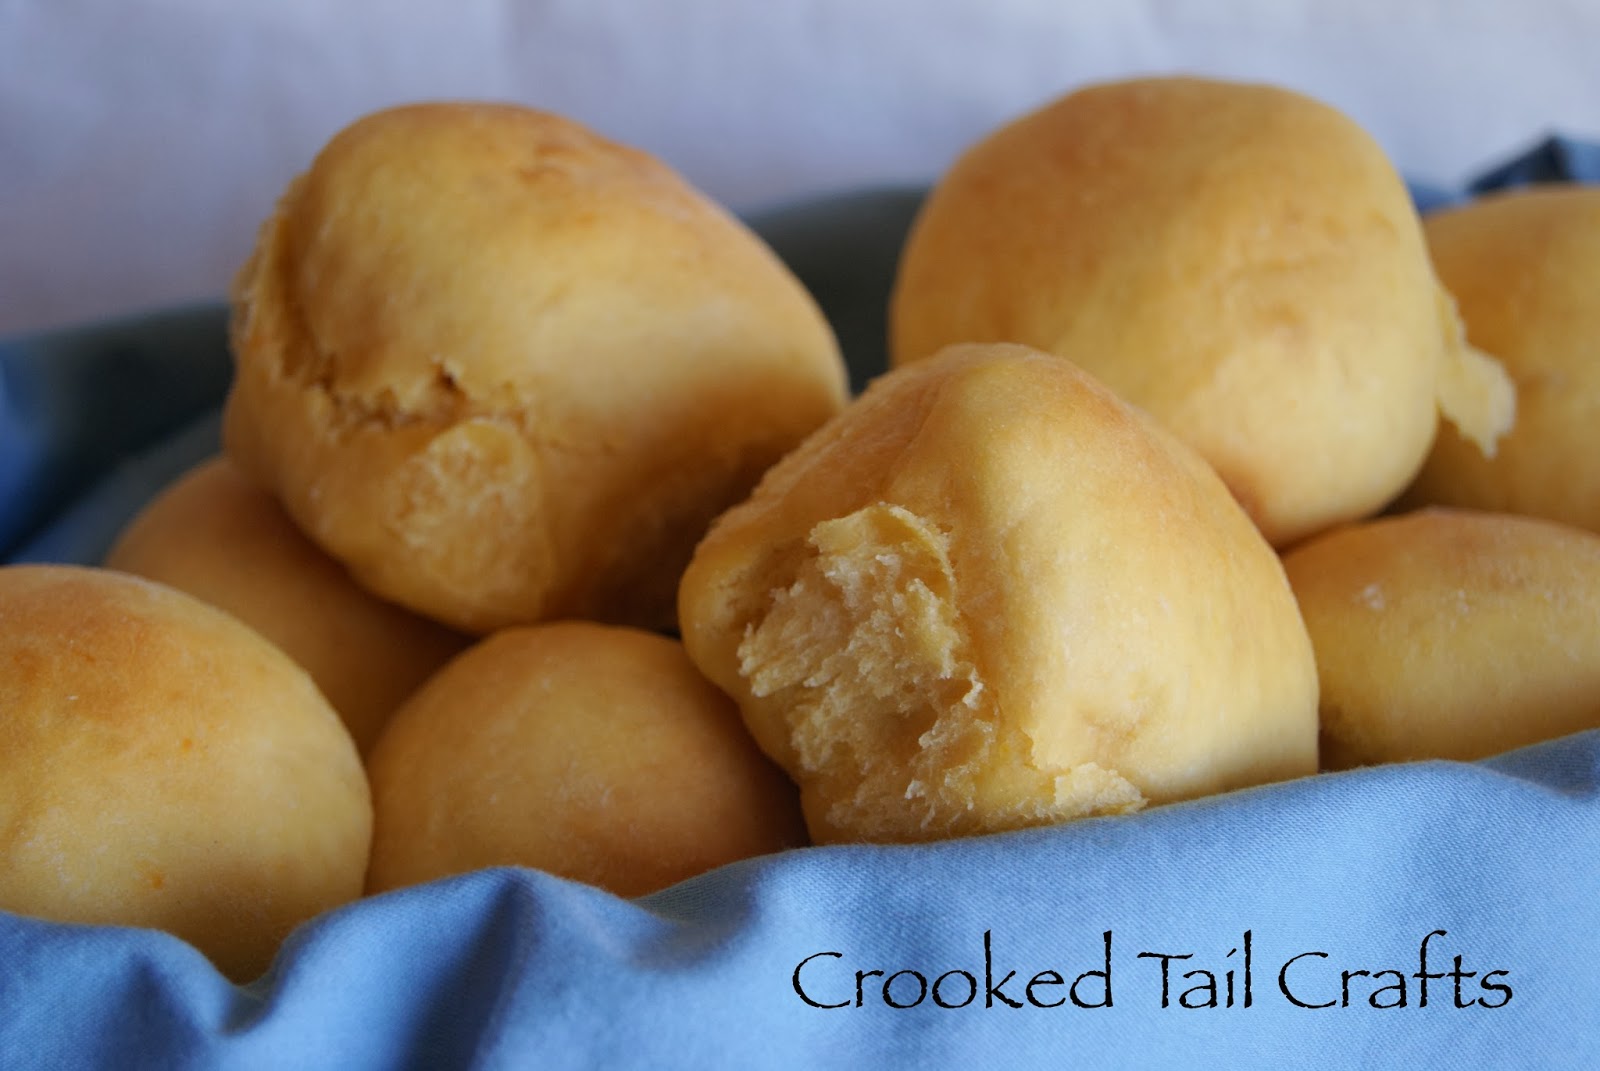
I had some leftover sweet potato from dinner the night before and decided to try it in my potato pan roll recipe (to be posted soon). Oh, it smelled so sweet and wonderful while it was baking; truly a fall bread.


They turned out wonderfully! They were a little sweeter than the originals, but otherwise turned out great! I am going to get these recipes up here soon.  It's such a versatile recipe that's pretty easy (as far as yeast bread goes). My daughter was really getting into helping as well.  She was super curious, she even pushed the chair over so she could watch. I moved the chair closer to the counter where I was kneading, and my-oh-my, she was in kiddo heaven as she flung her arms through the extra flour typically used for dusting my hands. I think I am going to have a helper in the kitchen in no time. Yeah!


I also got cranked up and in the mood to get the quilting done on the Dr. Seuss Quilt.  I am so excited to finish this one.  I decided, since the quilt itself is so off-beat, I would make the quilting a little off-beat, too.  I am practicing a bunch of different, more modern stitches.  I have the bubbles, squiggly lines in two different directions, clamshells, and squares. I am surprised with the squares; I thought they were going to be more difficult for me.  I can't wait to see this puppy finished!
So, I really have been working on things.  It's just been so busy, busy.  October is already full of family outings and preparation for Halloween, and then we are in the holiday season and it will be go, go, go. i already have a couple halloween quilts I can't wait to share, but all in good time. For now, it's time to get back to work.

Friday, September 20, 2013

Dr Seuss is in the Bag

I was in need of a quick project I could finish in a day.  It was one of those days that felt like I wasn't accomplishing anything and it was time to change that pattern.  So, I pulled out the last of the fabric from my Dr Seuss Quilt (still pinned and waiting for me to quilt it) and started cutting.  I figured out the largest squares I could cut for the maximum use of the fabric I had left over.  When I laid out the squares, I realized I had enough to make two smaller bags.  Now each child would have one to play with; perfect.


Each panel is a little different.  They all have the black with white spots alternating with different prints. I wish I had more red fabrics left, but no luck so I threw some blue in there instead.  I like the soft touch the blue offers.


Each bag is lined with white and red spot fabric.  This is what I used for the backing of the quilt. I decided to sew them together in a way that allowed the bag to be reversible.  Kind of a nice option in case the kids decide they don't want to carry matching bags, right?


I really enjoyed this quick project.  It was fun to figure out what I wanted them to look like and how to measure things out, etc. I wish I could have figured out how to sew the lining inside and then flip it so it was hidden.  Next time. I definitely will try this again, in different sizes, so I'll have the opportunity to try again. This has given me lots of ideas and motivation for the other scraps I have from various quilts over the years.  I am ready to get back to work.

I am linking up with Finish Friday over at Crazy Mom Quilts.  Looking forward to a great, and very busy weekend! Yeah! Enjoy, and thanks so much for stopping by.

Tuesday, September 17, 2013

Pattern Paper as fun as Fabric

I love pattern paper! It reminds me a lot of fabric and quilting.  Thinking of all the different combinations and designs you can create.  Awe-some! Just like with fabric, the choices can be overwhelming and it can be hard to narrow it down.  Also like with quilting, I really don't like having scraps left over. I am not so good at using scraps and I end up with a big box of paper pieces that I can't throw away, but I find difficult to use again.
I needed to make some thank you cards for my son to send to people for his birthday presents.  I wanted something masculine, quick and easy, and still has the look of homemade. I was searching through my paper collection and found these beauties.


I decided to make this pattern...


And quickly realized this was going to land me with a bunch of scraps that would be difficult to use.  So, I decided to switch the green and the pattern to balance it out...


But then I realized I was still going to have scraps, only it would now be a mix of colors of scraps.  So, I took what I had (instead of cutting anymore paper) and came up with this...


I am super happy with all of them.  I love using up all the paper, and when I was finished I only had a small (but still easily usable) piece of the pattern paper.  Just the way I like it. Now it's his turn to fill them in and we can send them off.


Stamp Set:  'Thank You' from Close to my Heart
Ink: 'Bashful Blue' from Stampin' Up

Monday, September 16, 2013

Crazy for Sweet Treats

For my son's birthday party I wanted to make cupcakes.  From scratch. I have tried this before, but they never seem to come out as soft and moist as the box mix.  I think the recipe I tried this time did a pretty good job, but it's something I am still working on.
One of the recipes I tried, but wasn't so pleased with, was a recipe that incorporated banana's into it.  I'm thinking, healthy boost in my chocolaty treat? Sounds like a good deal!


Well, they look good, and they tasted pretty good, but the texture wasn't right.  Too much like a breakfast muffin instead of a cupcake treat.  That's okay, the kids and I were able to destroy the evidence, and maybe I can find a way to turn this recipe into a yummy, and slightly healthy, breakfast treat.


I don't think I'd hear any complaining from the kids if I experimented with that. :)

Wednesday, September 11, 2013

Final Stages

It feels like it's been a while since I have posted a WIP, but I promise I've been working on things. I am trying to finish the sashing on the Bear Paw in the Honey quilt and then will only have the border left, which is a matter of piecing all the scraps together (it might take a while).

I also have been working on the Over the Rainbow Flower Quilt, but changed my mind on layouts AFTER I had sewn them together.  I went to the LQS and purchased more green so I could make more blocks.  Frankly, I wish I could make even more.  I still feel like it needs more yellow, but I think I'm all out. I might go back and check one more time to see if there's any way I can finagle a few more blocks together. Even if it's just four more, I really think it would help.


I finally got the Dr. Seuss quilt pinned and am just trying to figure out what quilting to do.  I thought about...
1) Bubbles of different sizes in the pattern fabric and a simple outline of the figures in the picture blocks.
2) Circles swirling out from each of the pictures and having a little overlap as they stretch out into each other. 
I think I'm going to use yellow thread, which will add a little color without being too overwhelming. What do you think? I admit, I am a little afraid of making the circles because I am not sure how to get them evenly spaced as the circle gets bigger and bigger. 


Besides all of this, I have also been in a major cooking/baking mood.  My son's birthday distracted me with trying to make the perfect cupcake from scratch (three batches later I am still working on it, although the kids are always willing to hide the evidence for me).  I have also been working on several new dinner meals; trying to mix it up a little. 

I'm linking up with Freshly Pieced for WIP Wednesday. OMG, it's Wednesday!?! It seems each week is a little faster than the last. Can't wait to see what everyone else is working on. 

Monday, September 9, 2013

Experimenting with Beans

I love refried beans; at a restaurant.  But the can you buy at the store is just not so appealing.  You open it up and the beans slide out in one bug hunk, similar to dog food.  You squish it down with a spoon into the bowl and add some cheese to top in hopes of masking the unappetizing dish you are about to serve.
Living so close to the border, it seems I should have a better grasp on how to make refried beans, so I started investigating and found this recipe online.  I finally tried it the other day when I was making bean burritos for me and the kids.


Instead of using dry pinto beans, which I have but didn't have time to soak, I did use a can of pinto beans that I drained and rinsed. I cut the whole recipe in half so I wouldn't end up with a ton of leftovers, especially if they weren't well received.


The texture was fantastic! I had control over the amount of water I added and could make them a little thinner, which is what I like. I also had control over how mashed they were, so I was able to keep some whole beans still in the mix. I need to practice with them a little before I can post any recipe on it.  I found it to be a little too salty (and I am a salt lover!), and still a little to thick. I also want to try with dry beans to see if the flavor is different. I want to know if it's worth it to use dry beans.  I going to guess yes, but we'll see.
My daughter loved them, but my son was a little less impressed. I think he didn't like how salty they were.  Hopefully the next few batches I make will go over better with my at-home critics. :)

Tuesday, September 3, 2013

Still Working on the Garden

Still plugging away on my rainbow garden quilt. I finished the last of the blocks on my rainbow quilt that I could and made columns to see what it would look like put together.

I tried to lay it out so it would look like it had the arch of a rainbow...


And then I tried to create an up-and-down stagger to create a wind-blowing look...


So, I'm looking at it, and looking at it, and I realize I need more flowers. I hunted down some more green fabric (the color I ran out of) and I began work on them.  Hopefully I can get them done tomorrow and see how it looks with the new additions.  The blue in the background on the top of each picture was a fabric I picked up for a border, but I have since changed my mind and think I will just use the green to give it a real garden feel.

I am also thinking about making some little mini-flowers with the scraps; maybe for pillows? We'll see. I just love this fabric so much I want to use every scrap of it in something.