Sunday, March 24, 2024

Honey Honey Stars Quilt


So… what do you do when you have fabric left from a quilt you made years ago and haven’t found the perfect project for it yet? For me, I struggle throwing the leftovers into the scrap pile if it’s enough to make something else. But what to make?

Many years ago, I took a jelly roll class at a LQS using Kate Spain’s Honey Honey. To complete the quilt, I had to buy a supplement pack that I didn’t completely use. The leftovers went into a project bag and I didn’t think about it for a long time.

As I continue to try and work through old fabrics and projects, I pulled this one out and was inspired. I went onto my quilting program and designed a block that used white to balance out the minimal amount of fabric I had.


I was so happy that I was able to get 14 blocks out of the leftover fabrics. To make the quilt top a little bigger, and to create more white contrast, and made the sashing pretty wide. I laid the pieces out and was bummed there was still a little bit of fabric left.

 So… I decided to make stars with what was left, and they fit perfect as corners to my sashing. They also create a nice little shimmer of interest through the top. Finally, I needed a border to pull the whole thing together. I looked in my stash and was excited to find I still had some leftovers from the backing of the first quilt too. P-E-R-F-E-C-T

 When it came to the backing, I found a great fabric on the sale rack at the LQS that is a honeycomb pattern with pinks and purples. It couldn’t work out any better.

 For the quilting, I wanted to make a swirling pattern and used my drawing chalk to trace my lines to follow. Unfortunately, it won’t wash out even after multiple washes. I am still researching how to get it out, and I’m super bummed. Hopefully I’ll figure it out. For the rest of the quilt I used a simple meander, except for the border where I used the same swirling pattern as I did on the blocks.

The last step was the binding. I had a great two-tone pink zigzag fabric that was perfect for framing the finished product.


 I’m so happy I was able to put this one together. The original fabric holds a sweet place in my heart because it was used to make mydaughters first big-girl-bed quilt. Now I have another sweet finish that I love.

Bear Paw in the Honey Quilt


This is a long-delayed post about a beautiful quilt I made for my daughter so many years ago when she was about to move from the crib to the first big girl bed. I can’t believe I never put it in my blog, but when completing another quilt from the scraps, I realized the story and the quilt weren’t there. It is time to get this one in. 


In 2013-2014 I was looking for distractions. We found out when our daughter was born in 2012 that she was deaf. We have no family history, so it was a bit of a shock. We immediately started educating ourselves on all of it. I found websites to teach me sign language, I found kids shows for my son to watch that taught us all sign language. We also researched medical interventions, including cochlear implants.


We decided to go for it and we were thrown into a world on surgery, followed be lots and lots of therapy. It was very challenging mentally, but it was all totally worth it. Now she has access to hearing and speech but also knows sign language and is not afraid to not have her hearing access.


Okay, that was a longer story than I expected. The reason it matters in this instance is that I needed something I could distract myself with, and feel accomplished when I was finished. Quilting was a wonderful outlet that allowed me to really put everything aside and focus on this one thing.


My mom found a kit at a LQS that included instructions and a beautiful set of Moda Fabric called Honey, Honey. It was beautiful corals, blues, teals, and pinks with bees and honeycomb and flowers. The pattern was a bear paw block; very fitting with bees and honeycomb. I got to work and was able to get the blocks done pretty quickly.


Following the pattern, I added the sashing and the borders. It made for a very large twin quilt. It would be perfect for my daughter’s new bed. I used a large floral print from the collection for the backing as well as for the binding.


For the quilting, I used a stencil and chalk to create a floral themed pattern on each block that has points. I used it in the corners, and stretched it out on the borders. My machine and my arms were quite tired after all that.


The final touch was to put a label on the finished product. I did this with permanent fabric pens on a scrap from the project and hand stitched it onto the back. I finished it right in time for her to transition, and took a picture of it on her bed. She was very excited about her new big girl bed and the personalized quilt made for her.


Several years since and I’ve made many more quilts to adorn her bed. She still likes this one the best though, and I’m so glad I was able to make it for her.

Friday, March 8, 2024

Beef and Bean Chili, AZ Style


I’m sure there are a lot of reasons why chili is an elusive dish for me. We didn’t really have it often when I was growing up. I met my husband in high school and he’s not such a fan. At the end of the day, it just wasn’t on my radar as a meal to master.

And then I had kids!

 Kids changed my perspective. We are often on-the-go with activities, concerts, friends gatherings, and everything else that comes with life. I am always looking for meals that I can make ahead, or prep in the instant pot or slow cooker to be ready when we are.

 We have a version of chili, but it’s basically ground meat and onion with taco seasoning and a can of ranch beans. It’s the most basic version you can have, but my kids like it and it works great as tacos. My husband is still not a fan, but I thought it was because of the beans (which the kids love and request when I don’t include them).

 I thought maybe things would go better if I didn’t have beans in the chili. A traditional Texas style chili! All the meat and none of the beans! Perfect!

 I found this amazing recipe to work with. I made a few tweeks here and there and used the instant pot to do my searing and slow cooking. It allowed me to keep running my errands while it cooked, and get some corn bread ready.

I served it that night and the kids really liked it, but they felt it needed beans. Who would have thought? Meanwhile, my husband still wasn’t feeling it even with no beans. I added beans to the mix and the kids couldn’t stop eating! They’ve requested it several times since, and we have made some changes to make it our own amazing Texas chili with beans. It’s just what needs to happen.

I used diced beef instead of ground beef because I wanted to have small bites of a softer meat than ground beef can provide. Ground beef works great though, and so does ground turkey. If you use ground turkey, you can use chicken broth instead of beef broth. The flavors go really well together.

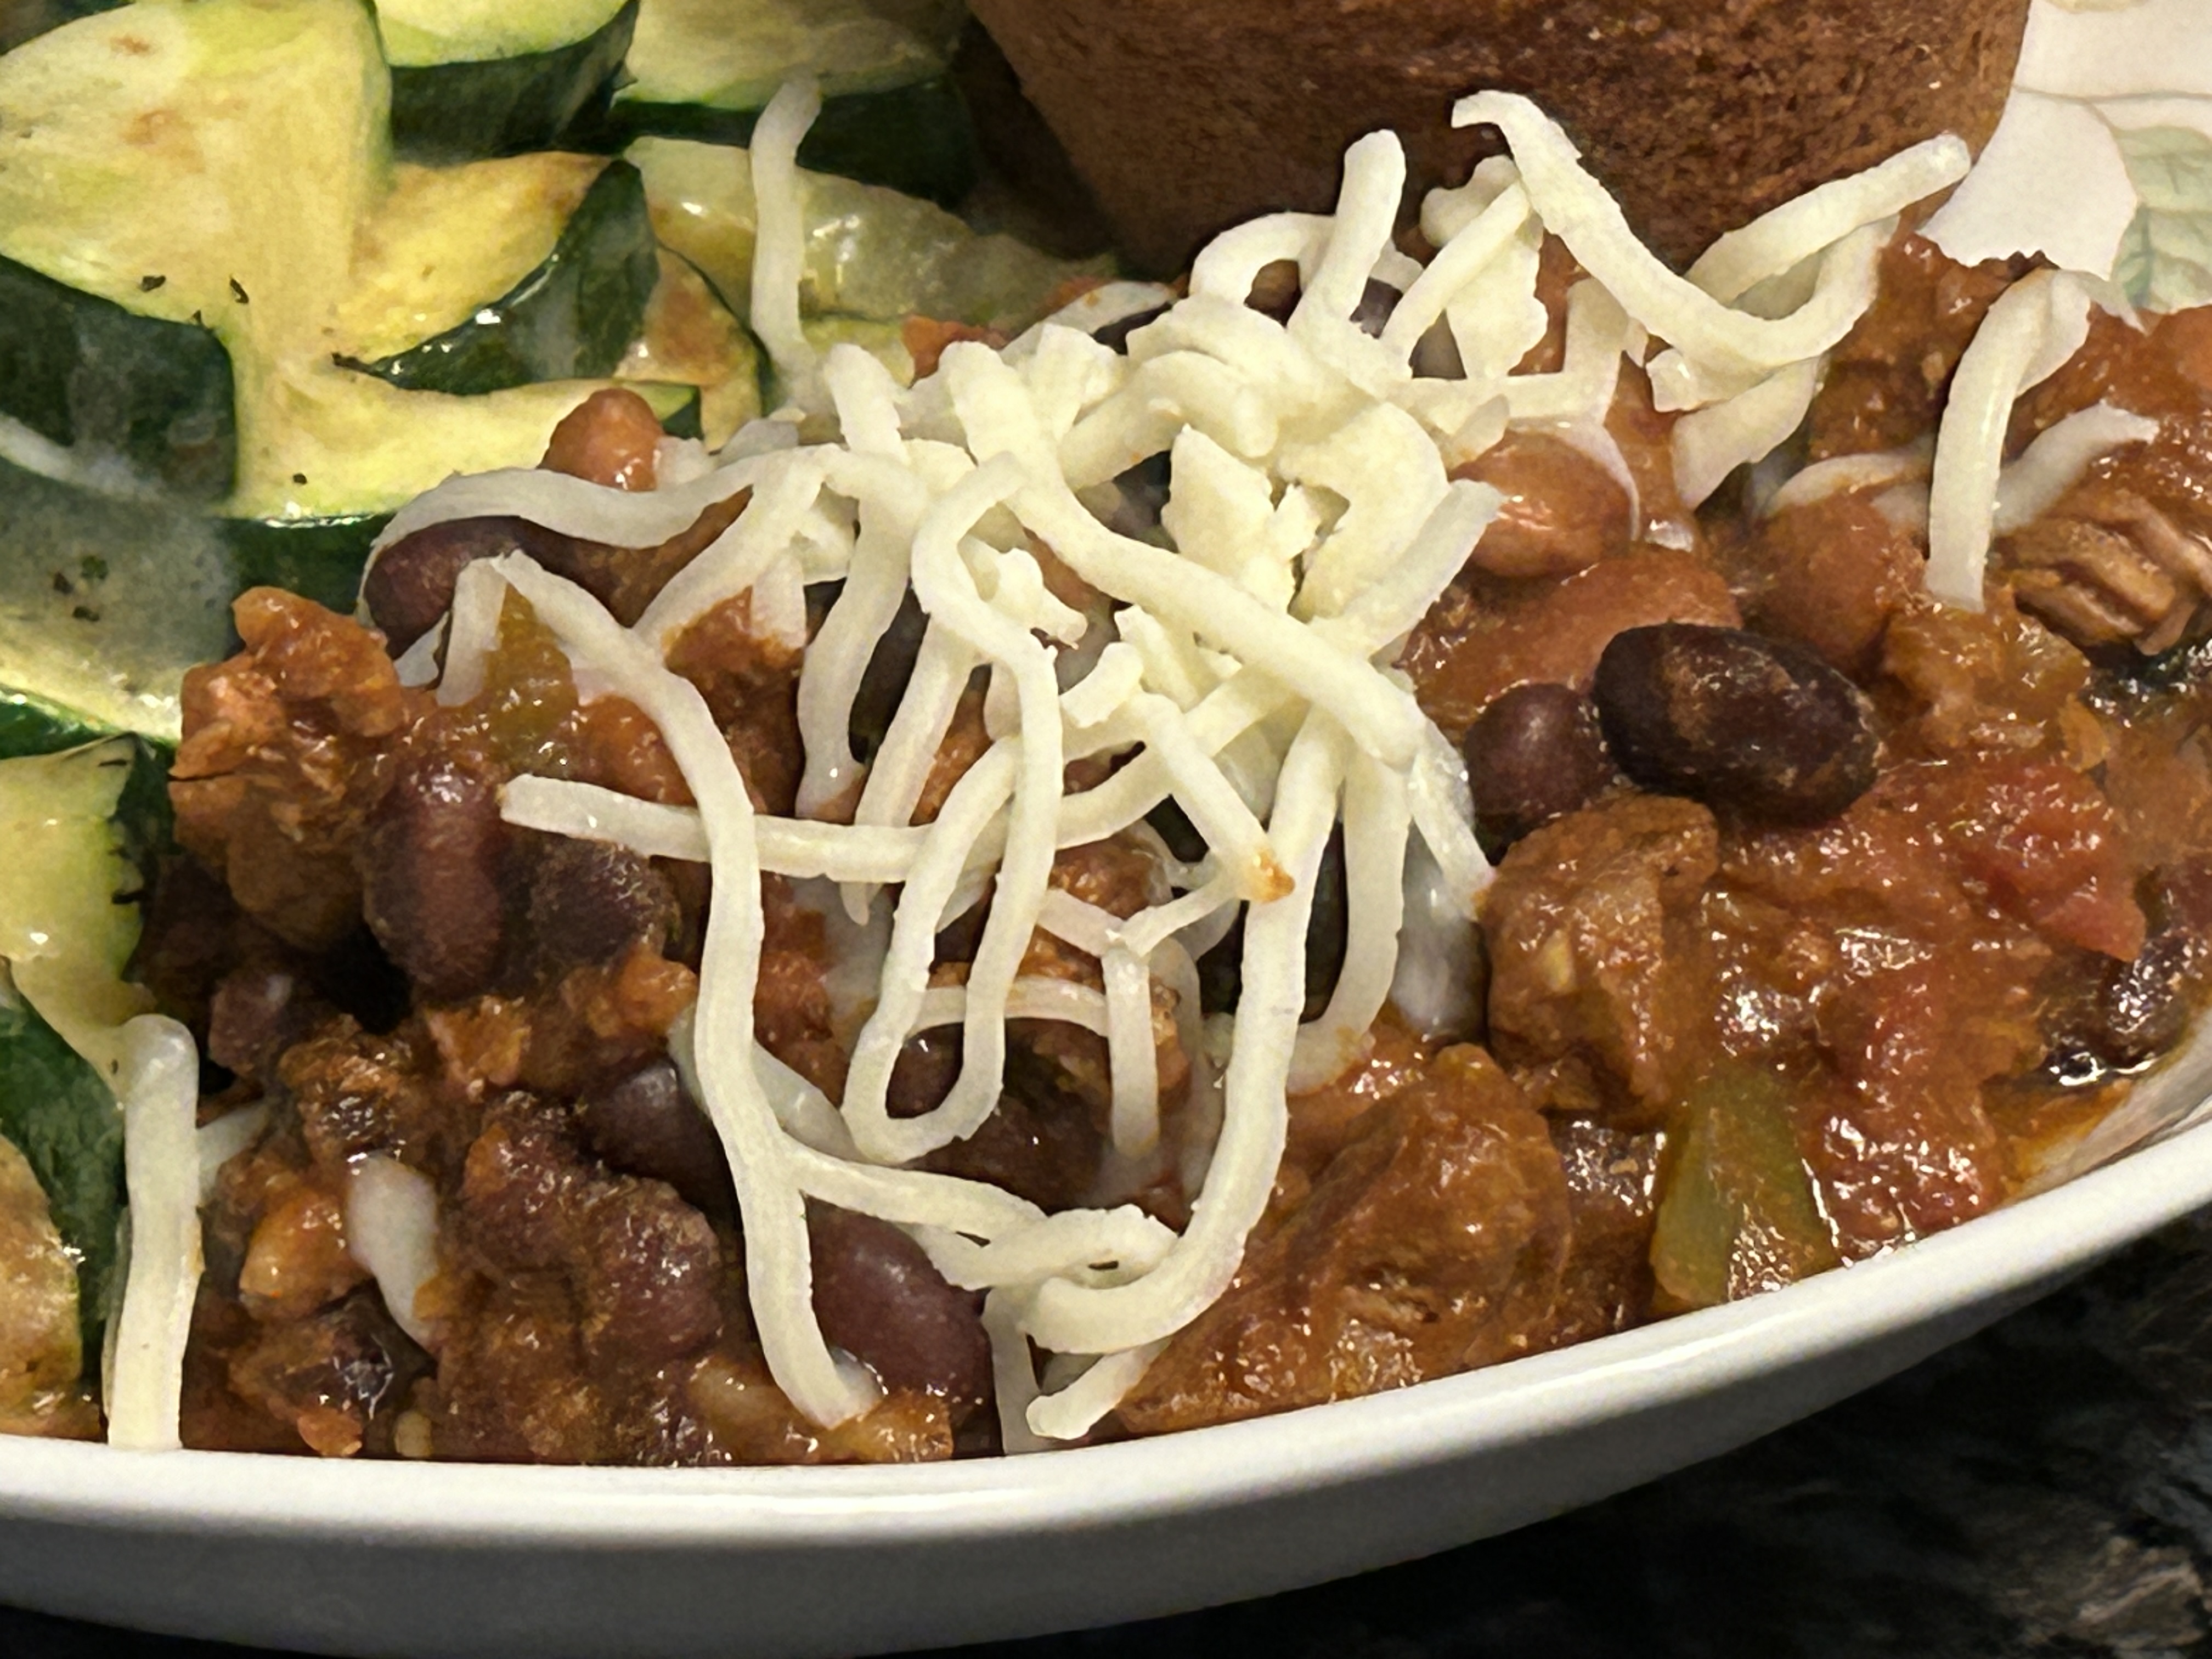
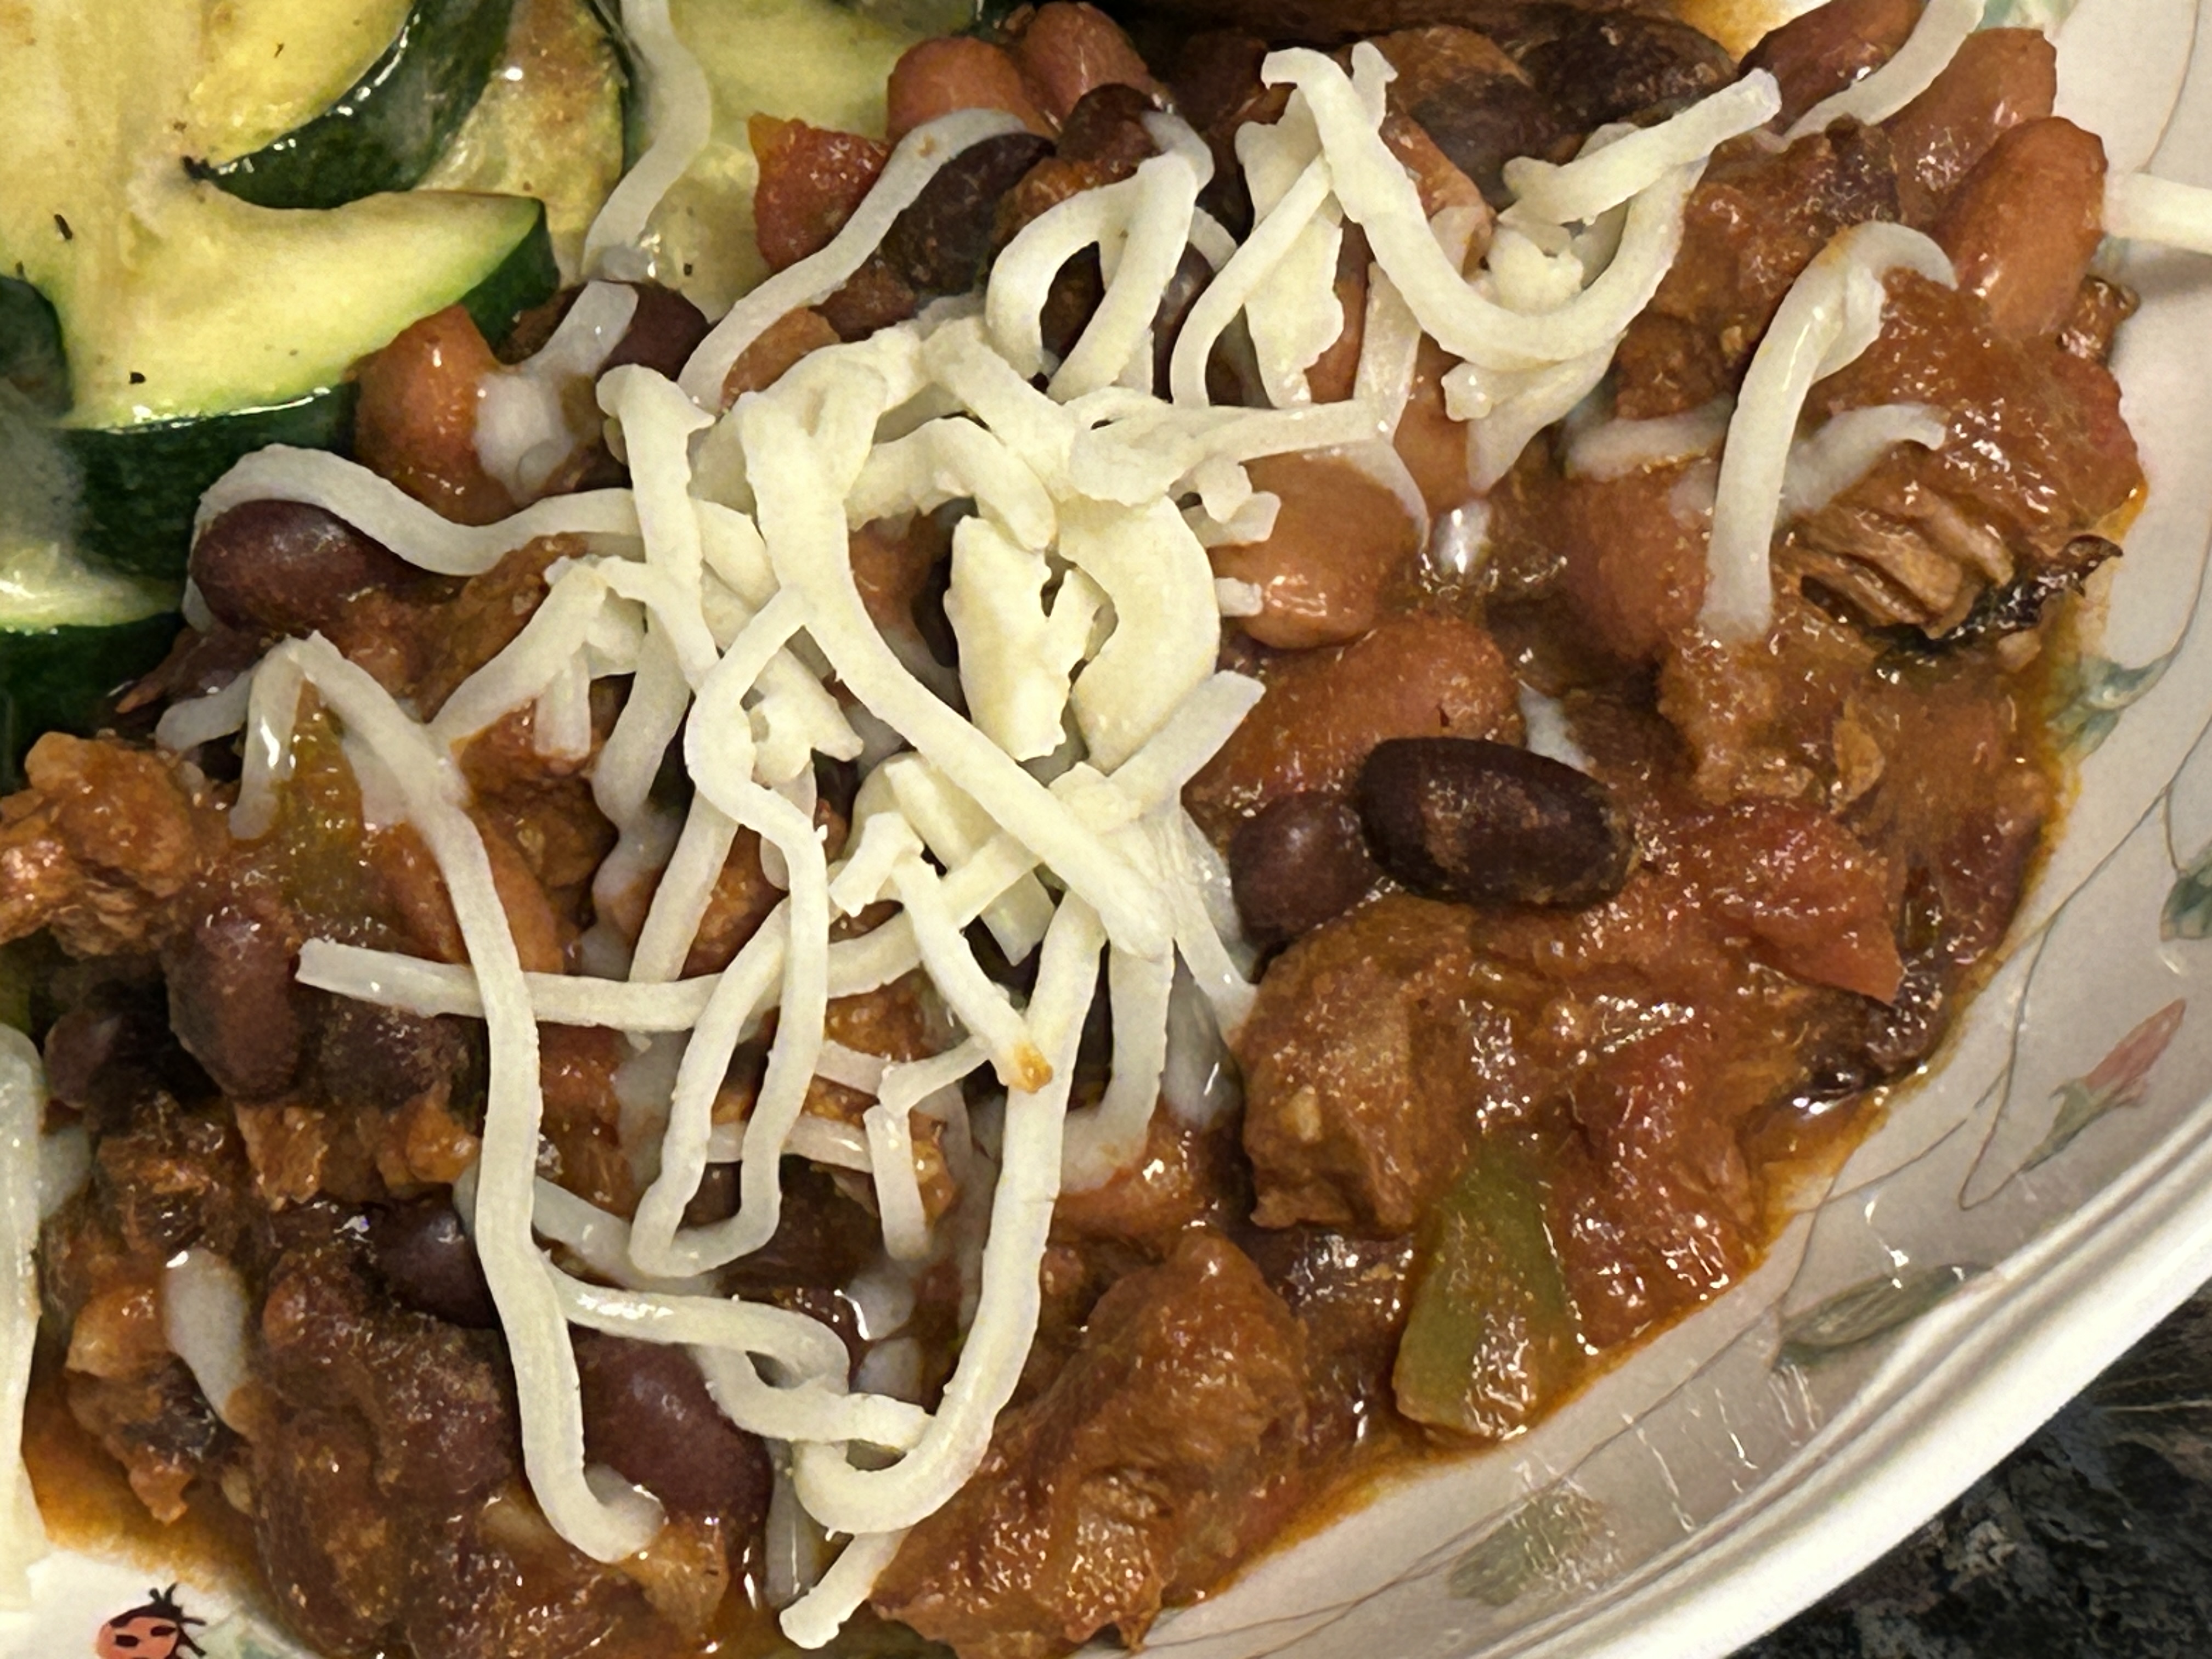
Serve the chili with shredded lettuce, cheese, sour cream, guacamole, or tortilla strips. You can also serve it with corn bread or corn muffins. Absolutely delicious!


Beef and Bean Chili, AZ Style


2 lbs meat (diced beef, ground beef, or even ground turkey)

2 Tbs EVOO

1 medium onion, diced

1 green bell pepper, diced

1-2 jalapeños, diced

4 garlic cloves, minced

2 Tbs chili powder

2 tsp ground cumin, dried Mexican oregano

1 tsp smoked paprika

1 can (6oz) tomato paste

2 cups low sodium beef broth

1 can (28oz) diced tomatoes, with juice

1 can (15oz) black beans, drained and rinsed

1 can (15oz) pinto beans, drained and rinsed

1 bay leaf

Salt and pepper to taste


Heat some EVOO in a cast iron dutch oven. While that heats up, prep all of your veggies, open your cans, and measure out your spices. It will make things go much faster.

When the oil is just smoking, add a third of the meat and sear it. You don’t need to cook it through, this is just to brown. After a few minutes and a good sear, remove the meat to a plate or bowl and continue to sear the rest of the meat.

Once all the meat is seared, heat the last of the oil and brown the onions and peppers. Once the onions are nicely browned, add the garlic. After just a minute, add the spices and allow to cook for a minute or two. Now add the tomato paste and mix with the veggies and spices. Use some of the beef broth to scrape the bottom of the pot. Slowly add the rest of the broth and return the meat to the pot. Add the tomatoes and their juices, and the beans and stir everything together. Finally, add salt and pepper to taste and the bay leaf.

Let the chili cook for 2-3 hours to allow the meat to soften and the beans to become softer and creamier. Serve with corn muffins, cheese, or any other topping you might like.

*This works in the instant pot as well. Set the pot to sauté and follow the steps above. Once everything is in the pot, turn off sauté and switch it to slow cooker on low. Place the lid on with the vent open and allow it to cook for 2-3 hours. Once it’s cooked, you can remove the lid and turn it back to sauté to reduce the sauce a bit, or place the chili in a dutch oven on the stove top for about 30 minutes to reduce the sauce.

**This dish reheats really well also. I simply put it back on the stove top in a dutch oven and warm it up for about 20-30 minutes. Voila!