
I decided to put together a tutorial with pictures and everything.
This pattern makes 2 Finished Blocks: 7 ½” x 7 ½”

Pieces Needed to Complete the 2 Blocks:
2 - 2 ½" x 7 ½" strip, color
4 - 2 ½" x 2 ½"squares, white
1 – 5 ½" x 5 ½" square, white
1 – 5 ½" x 5 ½" square, color
1 – 3 ½" x 3 ½" square, white
1 – 3 ½" x 3 ½" square, color
2 – 2 ½" x 3 ¼" strip, white
2 - 1" x 7 ½" strip, white
Draw sewing guide-lines on all of the white squares. The 5 ½” square and the 3 ½” square need lines on either side of the diagonal point. The 2 ½” squares need one line each from corner to corner.

Match the squares together and pin; set aside. Align the 2 ½” squares on each end of the color strips and pin. Sew the squares along the lines. Iron smooth and then cut ¼” seam allowances along the sewn lines.

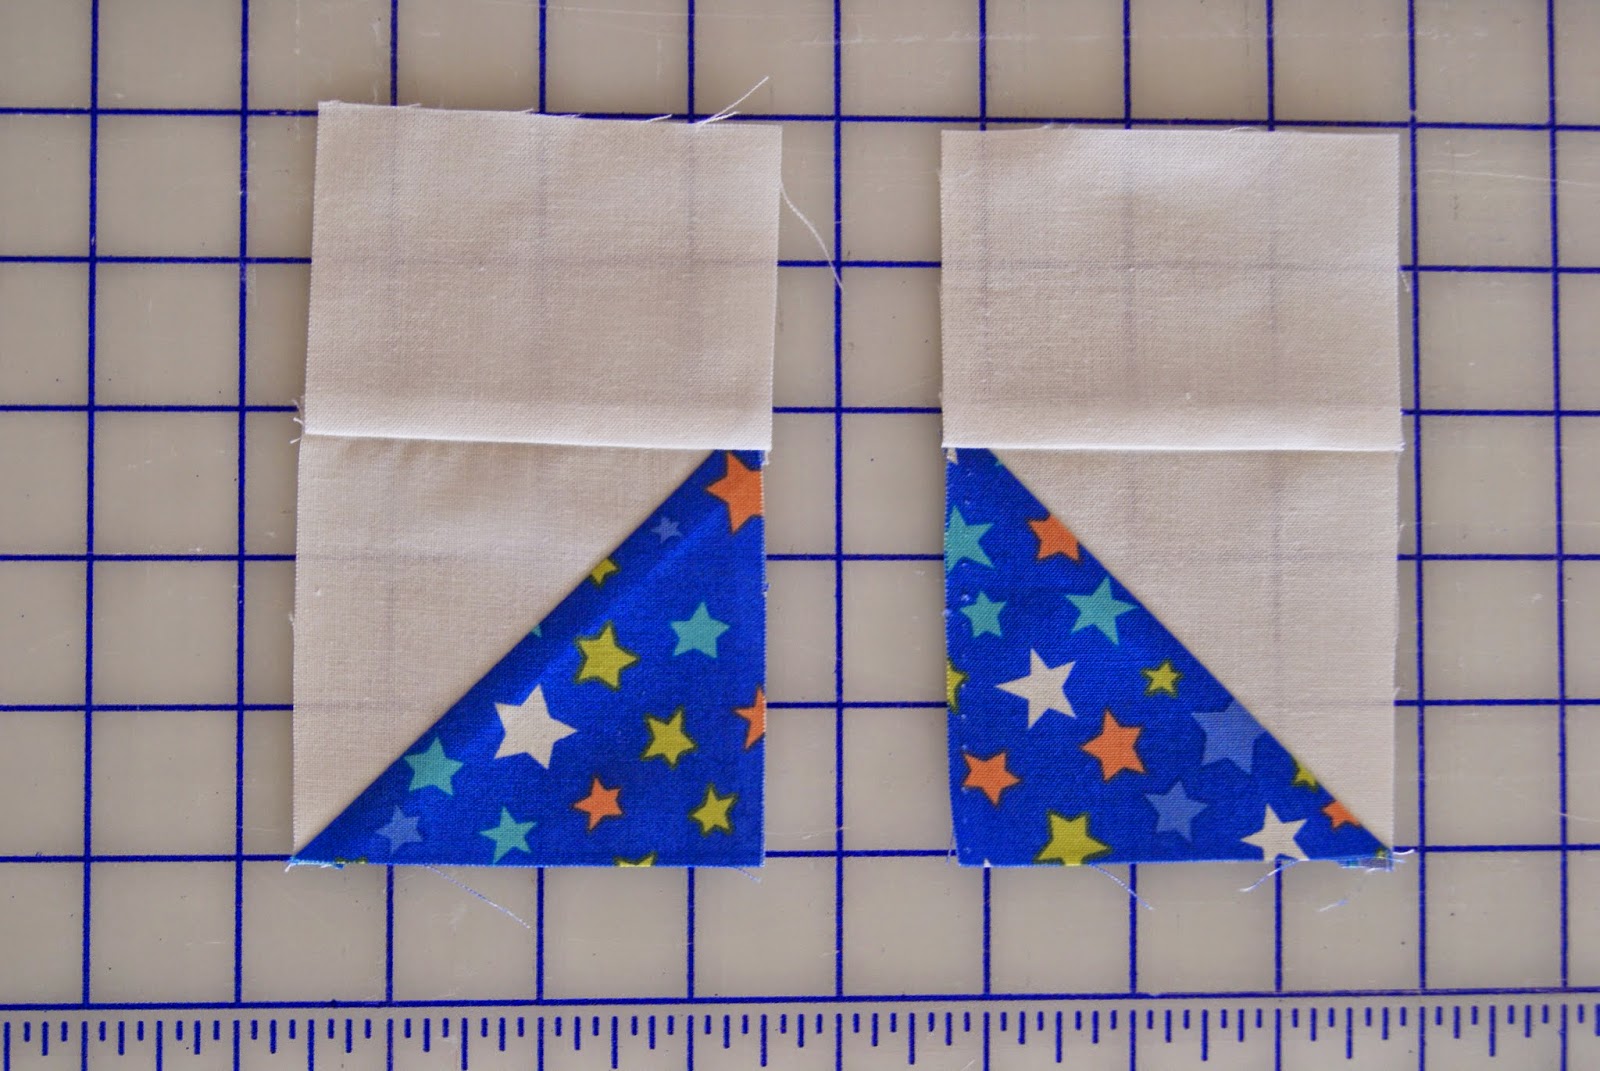
This will create 4 HST's and 2 rectangles with white triangles on each side. Iron towards the colors and trim the flags off the HST's.


Take the 2 - 3 ½” HST's and lay them out. Align the 2 - 2 ½” x 3 ¼” strips with the tops of the HST's, making sure that one of the color triangles in the HST is facing left and the other facing right. The 2 ½” x 3 ¼” strips should be attached to the white part of the HST's. Iron towards the white strips.
Now sew the strip you just made with the 3 ½” HST to the 5 ½” HST, making sure to have the colors up against each other. Iron towards the 5 ½” HST.

Sew the 7 ½" color strip to the HST's so that the colors are matched up with each other. Make sure to align up the points before sewing. Iron towards the 7 ½ “strip.

Finally, sew the white 1" x 7 ½" strip to the bottom of the boat. Iron towards the color strip and you are finished!

Aren't they soooo cute?!? Just a fun little pattern that has so many applications. I hope others find this helpful! This is such a fun and easy block, and I have been loving it.
I am linking up with Freshly Pieced for WIP Wednesday and with Kelly for NTT. I am also posting this in my tutorials link. I'm looking forward to seeing what others have been working on.
I am linking up with Freshly Pieced for WIP Wednesday and with Kelly for NTT. I am also posting this in my tutorials link. I'm looking forward to seeing what others have been working on.
This is adorable! It also looks quite simple, and making two at once is always a perk! I am going to bookmark this for future use--baby quilt? Maybe? :) Thank you for the tutorial!
ReplyDeleteSo glad you like it! I hope you're able to use it in a project. Thanks for leaving a happy comment; always great to hear from others.
DeleteThank you for the tutorial! I've pinned it for a future baby quilt!
ReplyDeleteSo glad you pinned it! I hope you're able to find a fun project to use it in. Thanks so much for the happy comment!
Delete